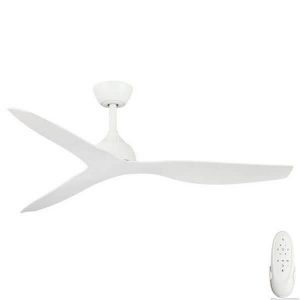
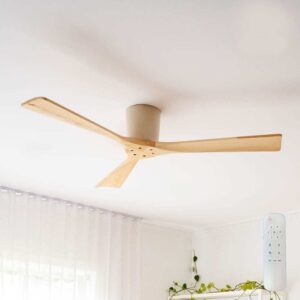
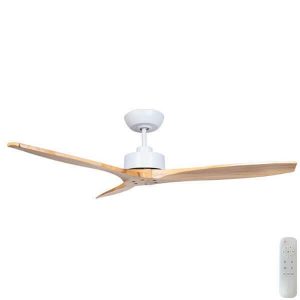
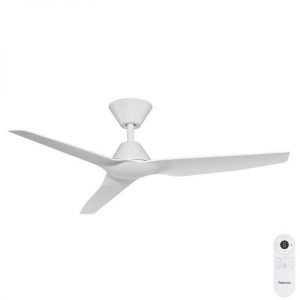
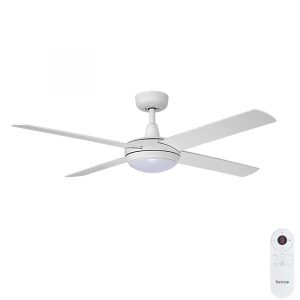
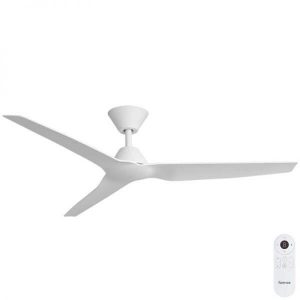
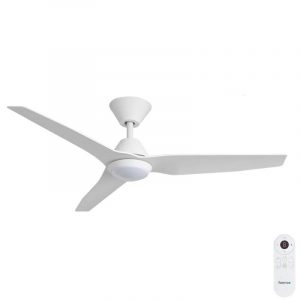
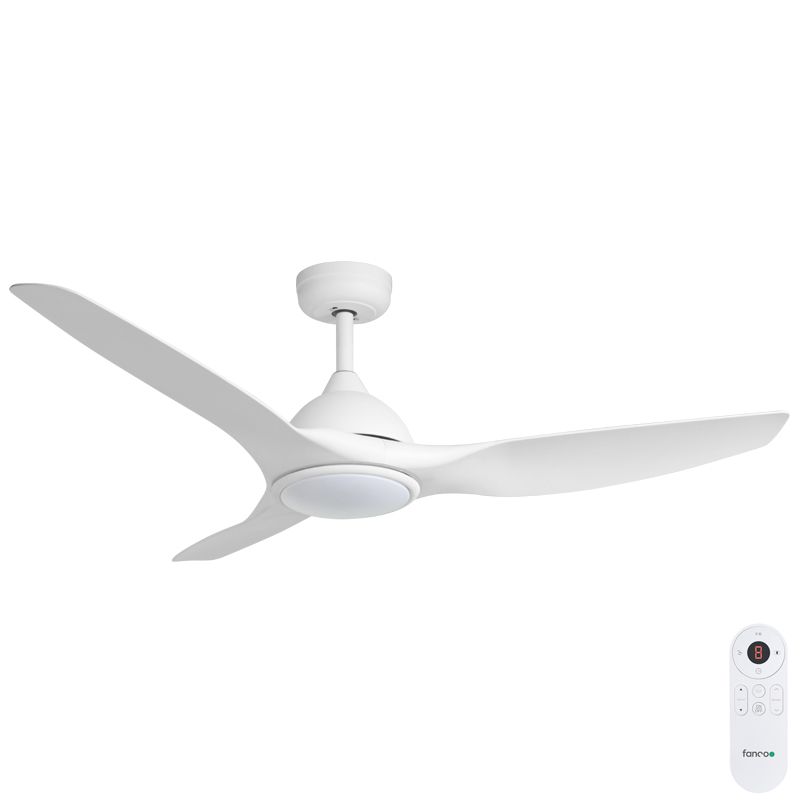
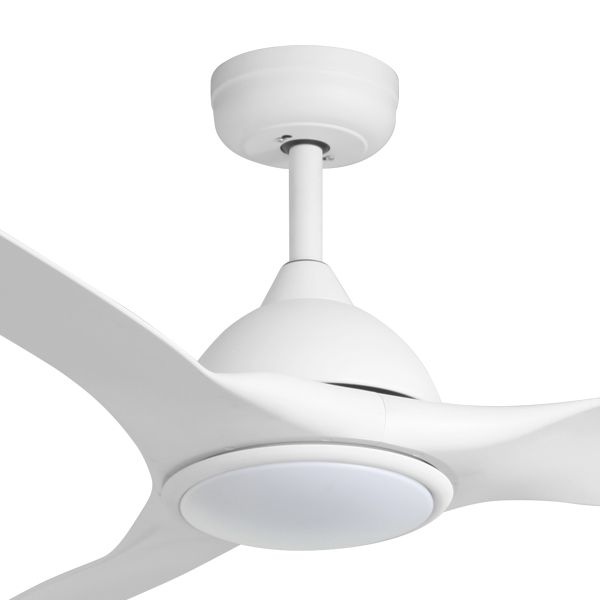
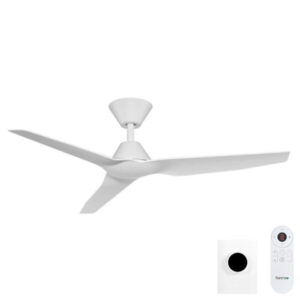
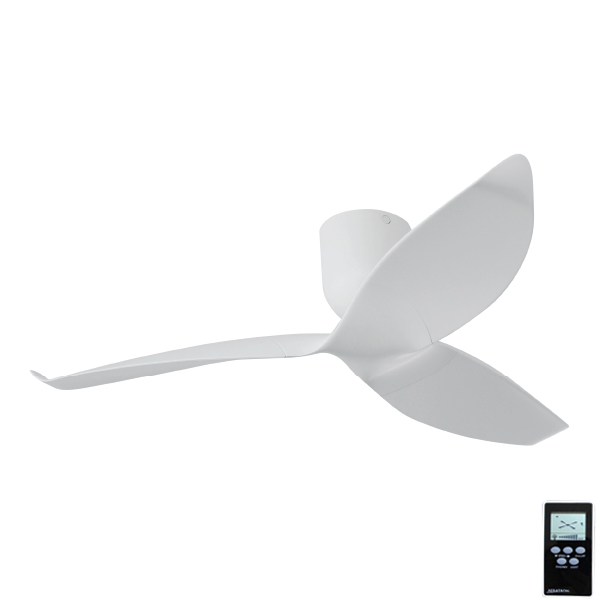
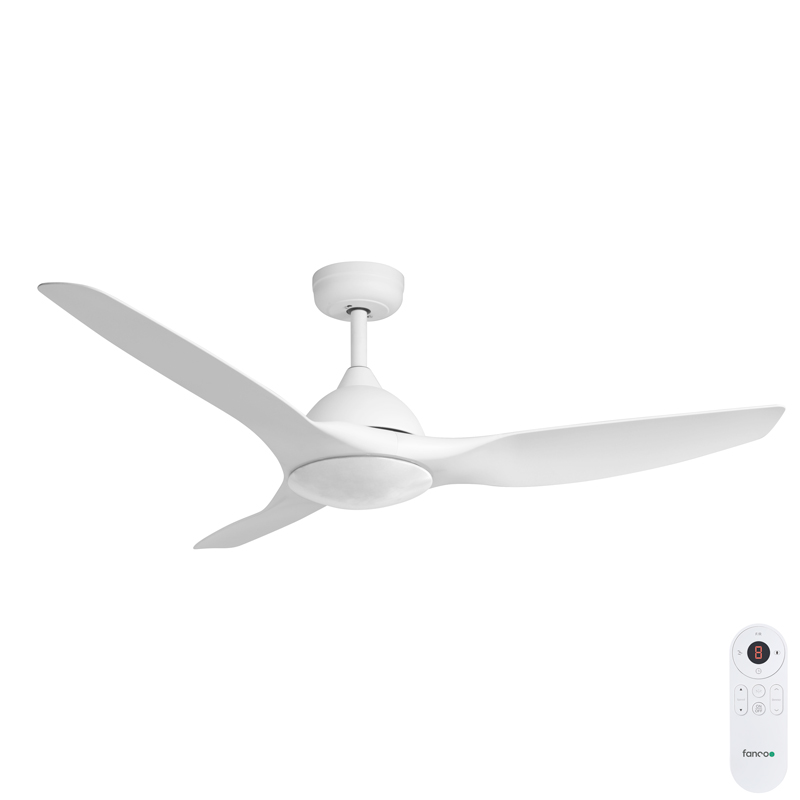
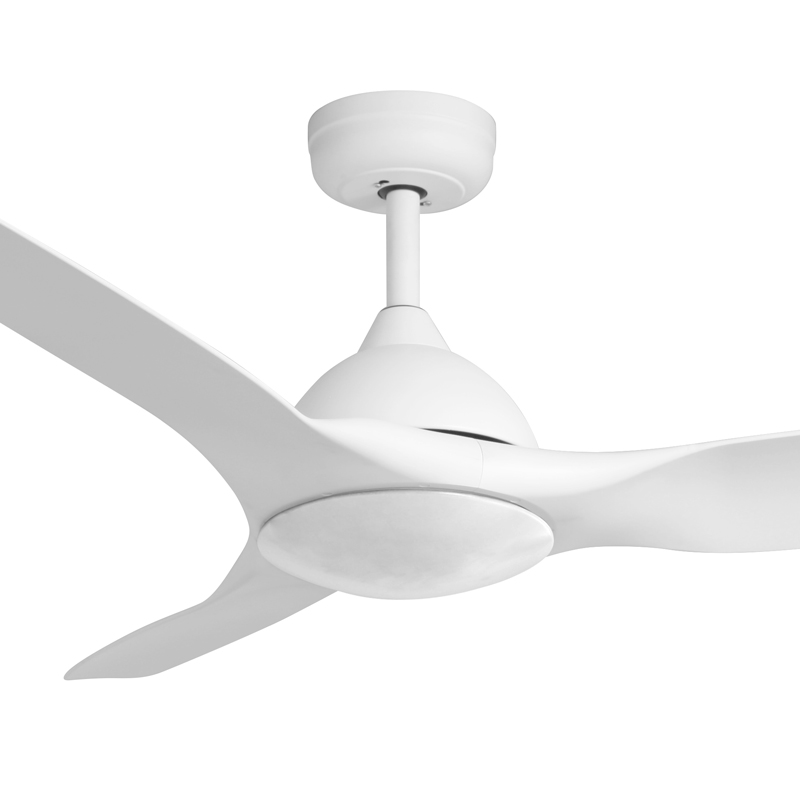
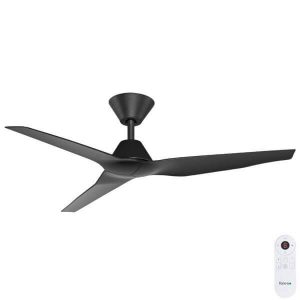
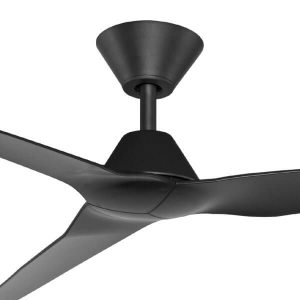
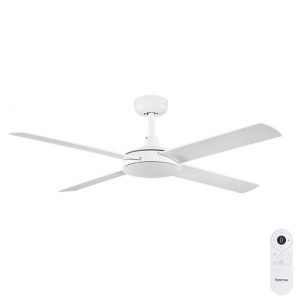
Ceiling Fans with Remote


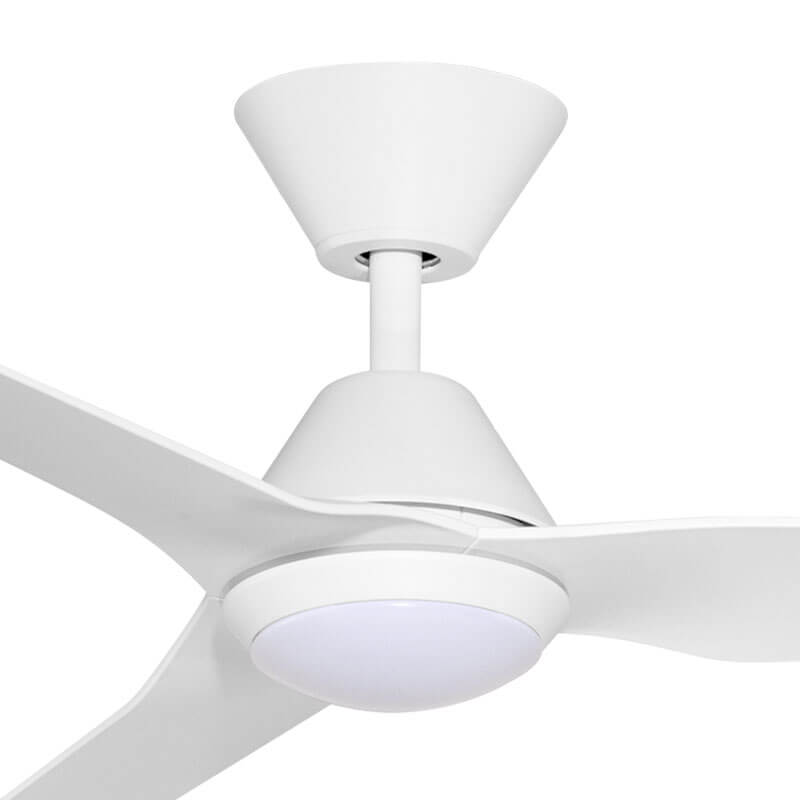
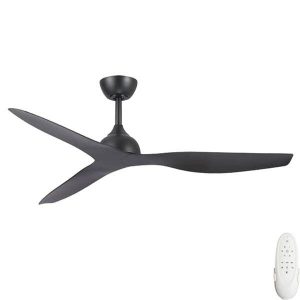
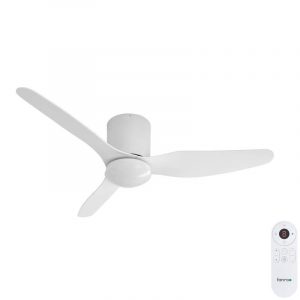
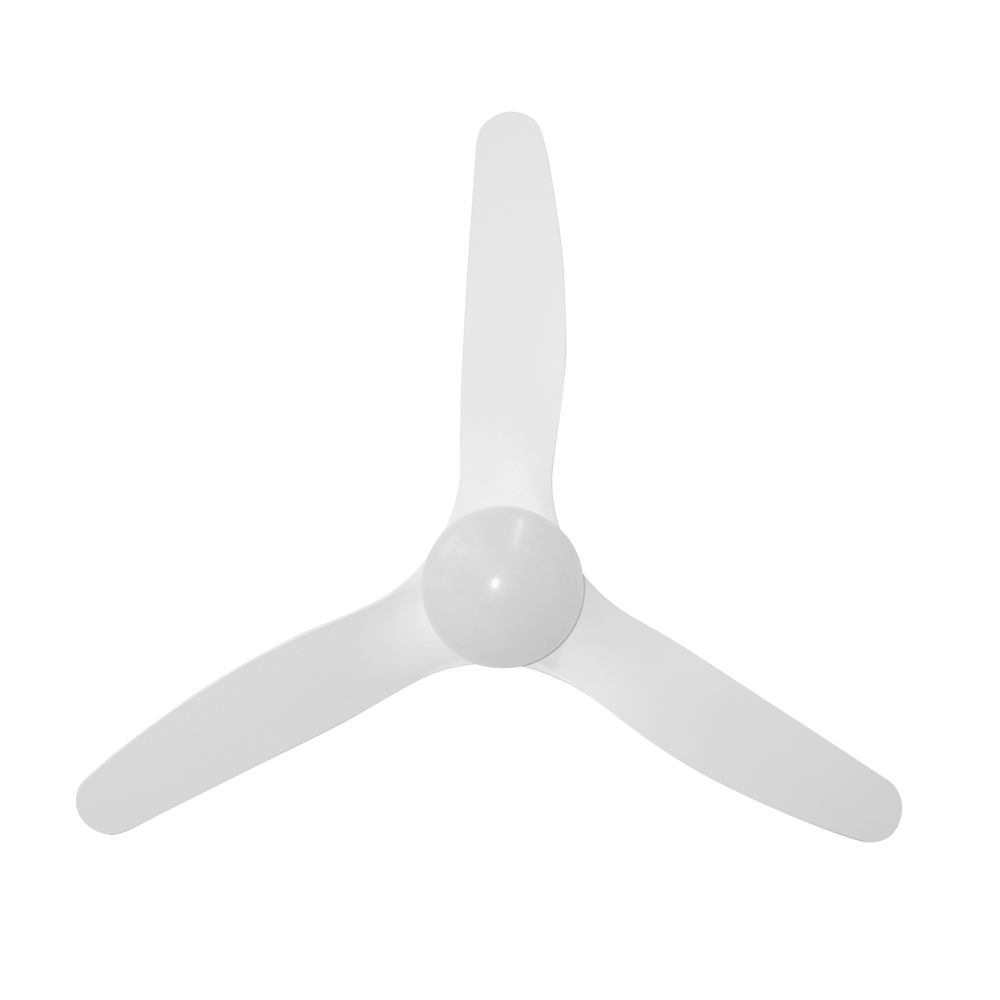
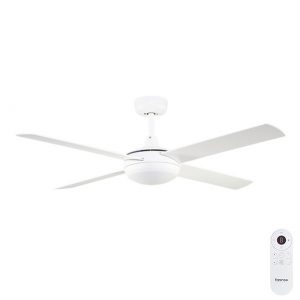
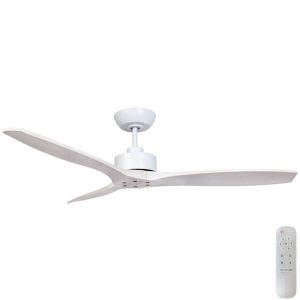
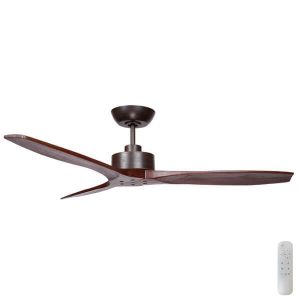
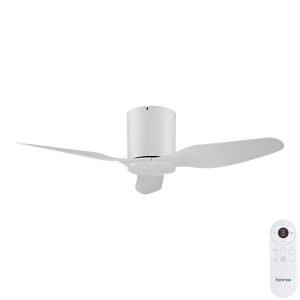
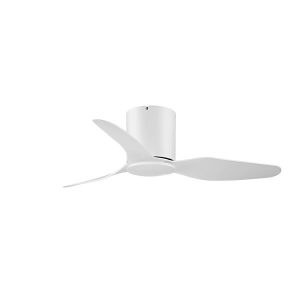
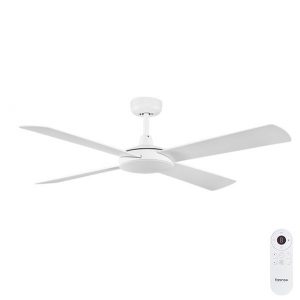
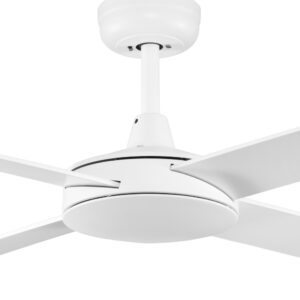
Welcome to Universal Fans Australia! Check out our wide selection of Ceiling Fans with Remote Controls. These fans are excellent additions for any home style. Look through our collection to find the perfect ceiling fan for your needs.
Great Prices
We offer fans at all price ranges - under $200 for budget-friendly options, $200-400 for good mid-tier value, and over $400 for top-notch quality with luxury features. You can be certain all our remote-controlled fans are well-constructed and attractive looking.
Highest Rated Brands
We proudly carry popular brands like Hunter, Fanco, Martec, and Mercator. These leading companies are celebrated for making study, dependable, cutting-edge ceiling fans with remote control abilities. Go with these brands for outstanding long-lasting performance.
Diverse Styles
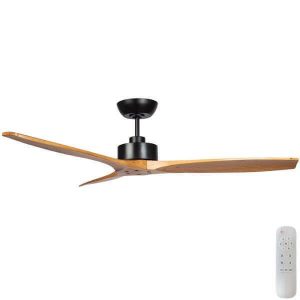
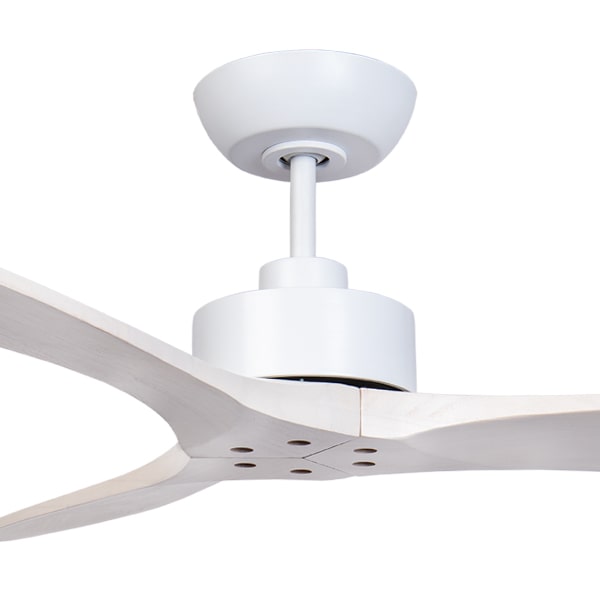
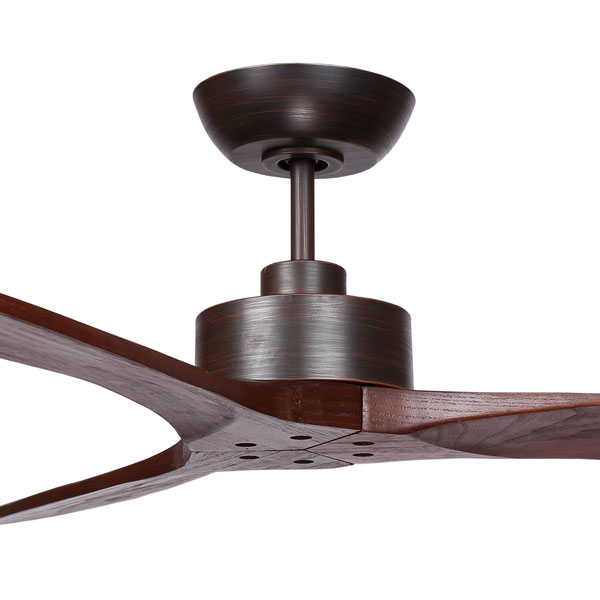
Our fans come in different colours including white, black, silver, wood grains, and metallic finishes. Each fashionable remote-controlled ceiling fan will blend seamlessly into your space.
Size Selections
We provide small fans under 48 inches, medium 48-54 inch fans, and large over 54 inch dramatic statement fans. Figure out the best size fan for every room. We offer remote ceiling fans suited for all room sizes.
Premium Materials
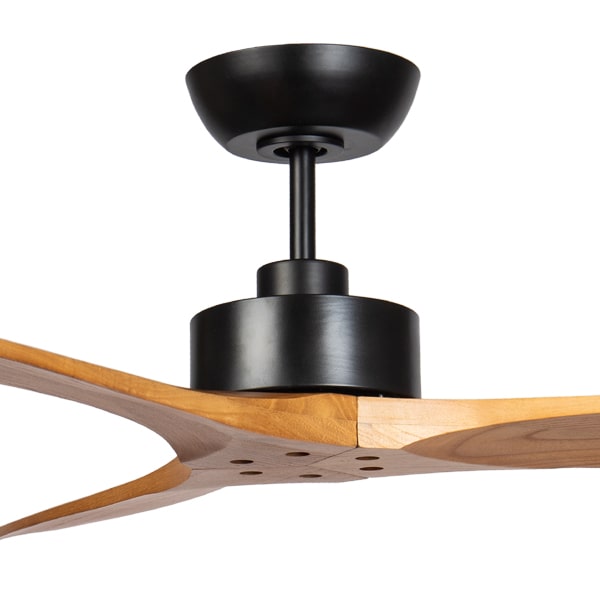
Choose blade materials like wood, plastic, metal, or mixed media. The thoughtful designs and robust construction make our fans both functional and visually appealing.
Advanced Motor Types
Pick from quiet, energy-efficient AC, DC or EC motors. AC are the traditional motors. DC motors are preferred for their energy-saving abilities and quiet operation. EC motors provide precise control over speed and performance, giving superior capabilities. Effortlessly change fan speeds with the convenient remote control.
Indoor & Outdoor Options
Our select remote-controlled fans are weather-resistant for covered outdoor areas. We also have models fully rated for damp, wet, and coastal conditions.
Lighting Capabilities
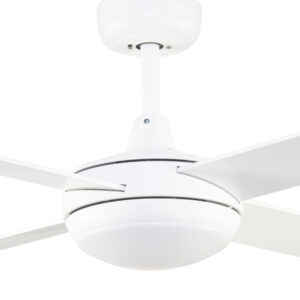
Some models have integrated lighting - LED, bulbs, E27, CCT LEDs, adaptable lights. Or choose a fan without lights. Easily control lighting settings with the remote control. We have the fan lighting options for all your needs.
Shop now for your perfect remote-controlled ceiling fan from Universal Fans Australia! With varied styles, we have the ideal fan to match your home's comfort and appearance. Explore our collections today to find your best ceiling fan with a remote!
FAQ Section:
How to Install Ceiling Fans with Remote Control?
Legal Notice
- This guide is informational only. For safety and compliance, electrical work should be done by a qualified electrician.
- DIY installation can be hazardous and void warranties.
- Follow the manufacturer's instructions and local codes.
Electrical Safety Tips
- Turn off power at the circuit breaker before starting.
- Use insulated tools and wear protective gear.
- Check connections with a multimeter before turning power back on.
Installation Guide
To Prepare
- Read the instruction manual thoroughly. An Example is Fanco’s Guide.
- Gather all necessary parts and tools.
To Mount the Fan
- Firmly install the mounting bracket on a ceiling joist or support.
- Assemble the fan by attaching blades, downrod, etc. per the maker's guide.
To Wire the Receiver
- Identify receiver wires by colour: brown, blue, green/yellow, fan/light controls.
- Connect the brown wire to the house live wire, blue to neutral, green/yellow to the ground.
- Connect fan and light wires to matching receiver wires.
To Finalise Installation
- Route wires through downrod and canopy.
- Attach downrod to fan, ensuring no trapped wires.
- Securely mount the fan onto the bracket.
To Attach Canopy
- Position the canopy to conceal the wiring and receiver.
- Securely fasten the canopy in place.
To Set Up Remote
- Install batteries in the remote.
- Follow instructions to sync remote with receiver.
To Test Functionality
- Turn power back on.
- Check all fan functions, lights, and remotes.
Maintenance Tips
- Regularly check wires and connections.
- Safety first. Steps can vary by model and manufacturer.
How to Wire a Ceiling Fan with Remote Control?
To install a remote-controlled ceiling fan, follow these general steps. Specific details may vary by model. Here is an example of a manufacturer's guide for wiring a Ceiling Fan with Remote Control.
Pre-Installation:
- Set fan speed to high and light on using pull chains. Leave chains in this position.
- Turn off power to the outlet box.
- Double-check with voltmeter if the power is indeed off.
Access and Identify Wires:
- Remove canopy screws with a Philips screwdriver.
- Identify wires from fan, receiver, bracket, and box using a voltage metre.
- Note wire colours for your specific models. For example model Hunter Ceiling Fan, the pink/yellow wires connect to the fan motor.
Connect the Wires:
- Connect white grounded wires from ceiling, fan, and receiver.
- Connect black ungrounded wire from ceiling to black wire from receiver.
- Connect blue fan wire to blue receiver wire.
- Connect black fan wire to yellow receiver wire.
- Cap all wires with wire nuts, even if not connected.
Install Remote Receiver:
- Slide receiver into canopy opening, vents facing down.
- Secure canopy back over receiver.
Connect Power and Transmitter:
- With power off, connect hot and neutral wires to "AC-in" on the receiver.
- Connect remaining wires to fan/light as labelled.
- Adjust DIP switches if interference issues.
Pair Remote and Fan:
- Expose the pair button by removing the battery door.
- Cycle power to fan (10+ seconds off).
- Press the pair button within 3 minutes to sync.
Install Remote's Battery:
- Insert battery in remote correctly per instructions.
- Turn on the power and test the button controls
Always consult specific guides for your models. Hire an electrician if you are uncomfortable with electrical work. It is highly recommended for safety and warranty concerns. For a more in-depth guide, please visit our Info and Tips section. You may also contact us and talk to our Fan experts.


